Quilted Wall Hanging: State Outline Collage
This quilted wall hanging was made for my office but it would be perfect in any home decor and with the outline of any state!
Learn how to make a quilted wall hanging
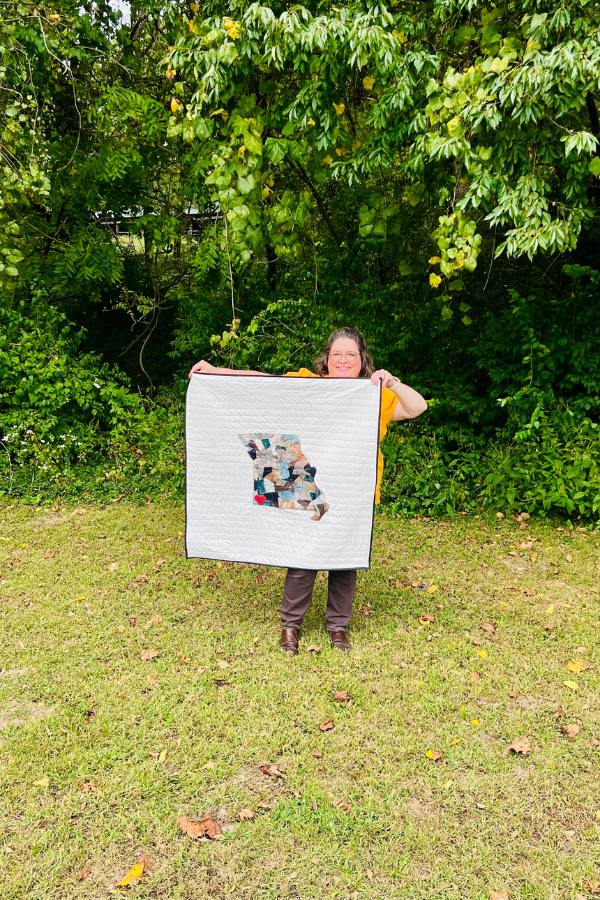
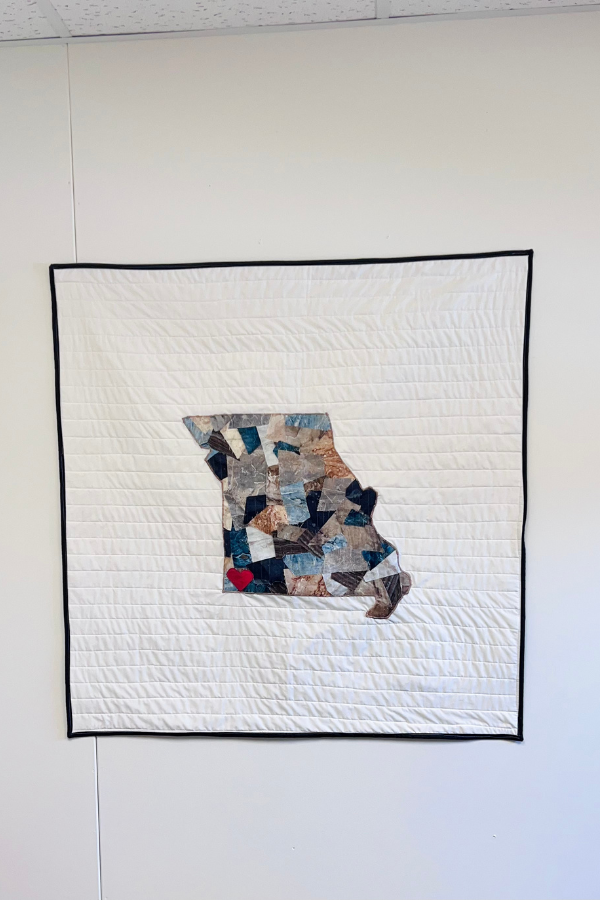
Big quilts are so much fun to make like my king-sized quilt that I just finished but I needed a small project to hang on the bare wall of my office and this quilted wall hanging of the state of Missouri was perfect!
See the full step by step video tutorial
This quilted wall hanging measures 37 inches by 37 inches and can be done with any state collage.
How to make a quilted wall hanging Step by Step
Ready to make [name of project]? This post contains some affiliate links for your convenience! Read my full disclosure policy.
Materials you’ll need
Step by Step Instructions
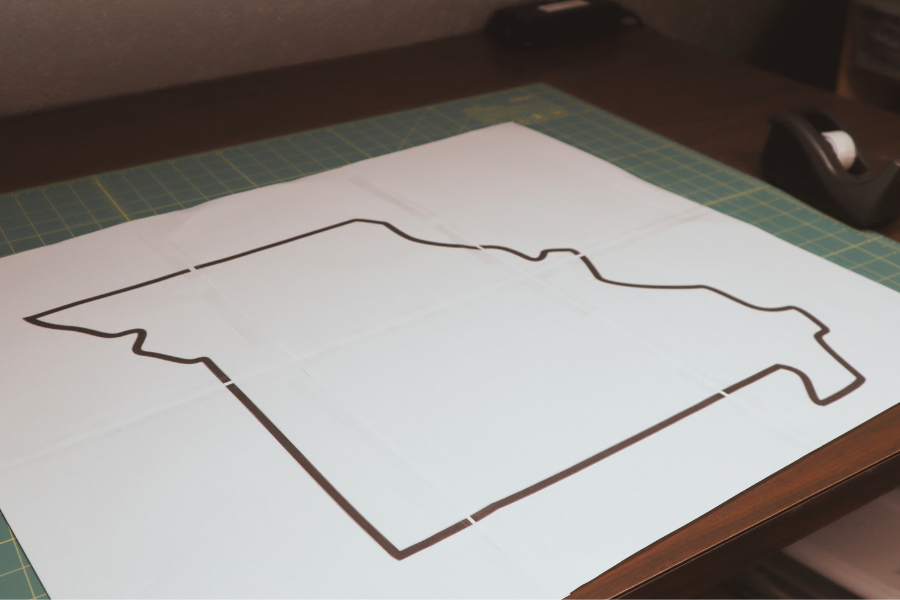
Step 1: Prepare Your Materials
Start by cutting out the state outline from your template. I Googled state of Missouri outline and found the darkest outline that I could print. It needs to be dark so you can see it through your interfacing in order to trace it. Then the outline was uploaded using blockposters.com where you can choose the size that it needs to be. The outline will print on several pages to tape together. See video above for instructions.
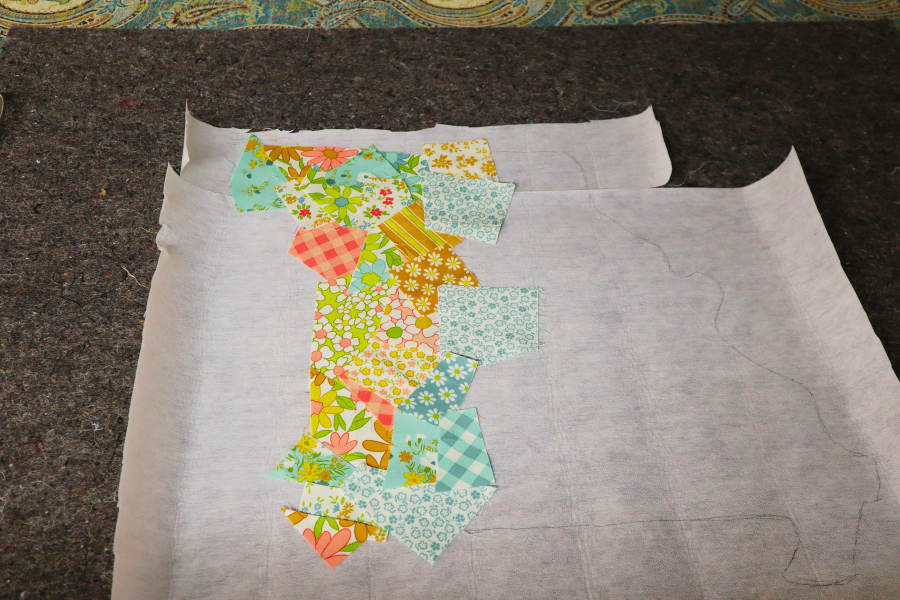
Lay the interfacing on top of the outline and trace it on the interfacing with a pen or marker. Anything will work as long as you can see it on the other side.
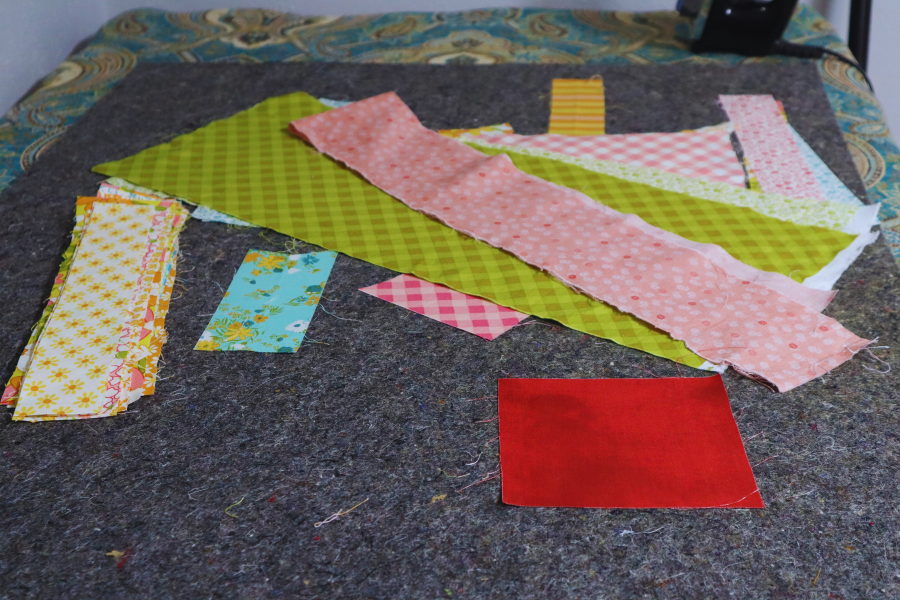
Then, cut your fabric scraps into small, varied shapes and sizes. Think of this step as creating a colorful mosaic that will fill in the state’s outline.
Step 2: Arrange Your Fabric Collage
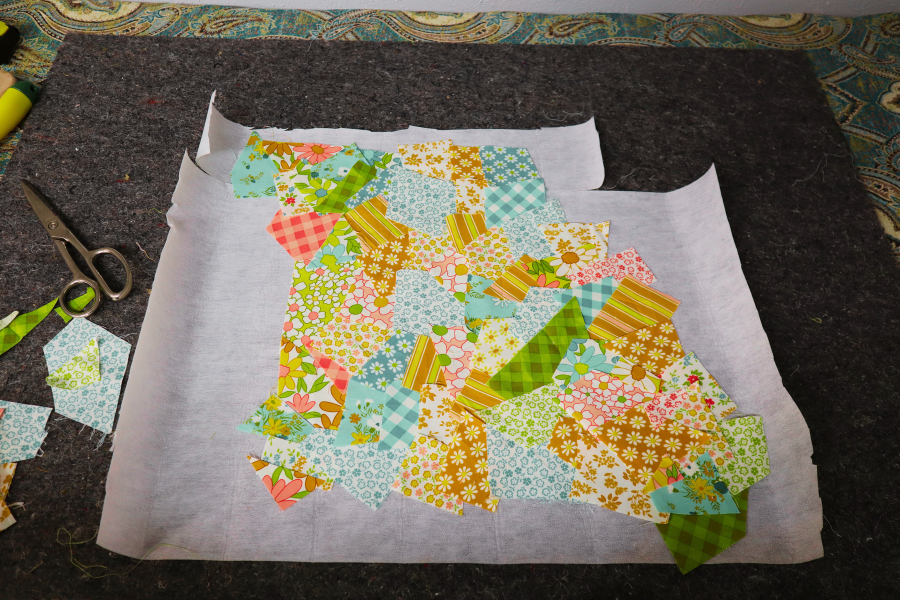
Lay out your state outline template on a flat surface and begin arranging your fabric pieces within the outline. This is where your creativity can truly shine. Mix and match fabrics, colors, and patterns to create a visually appealing collage. Don’t be afraid to overlap pieces for a textured look.
Another tip is to lay the fabric past the outline because the fabric and the interfacing will be cut according to the outline and you want to make sure that it is all covered so there are no empty spaces.
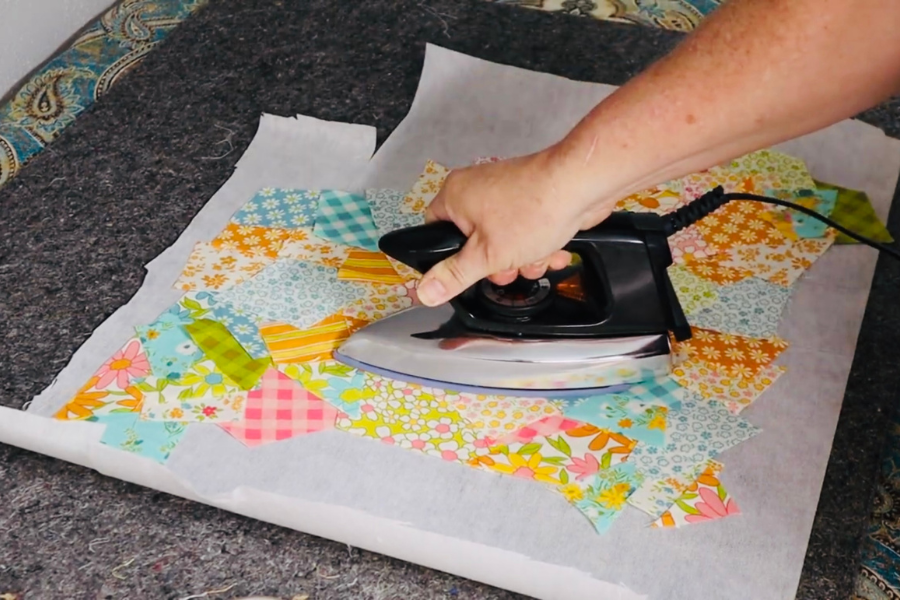
Step 3: Press the Fabric Pieces to the Interfacing and sew them down.
Using a hot iron, press the fabric pieces onto the interfacing. Some parts of the fabric will not iron down because it is on top of other fabric and that’s okay. They will all be sewn to the interfacing.
After the pieces are pressed, turn the interfacing around and cut it on the outline so you have a perfect shape!
Now it’s time to sew the fabric to make sure that it is secure. I like to use invisible thread on this step because I want people to see my collage, not my thread here.
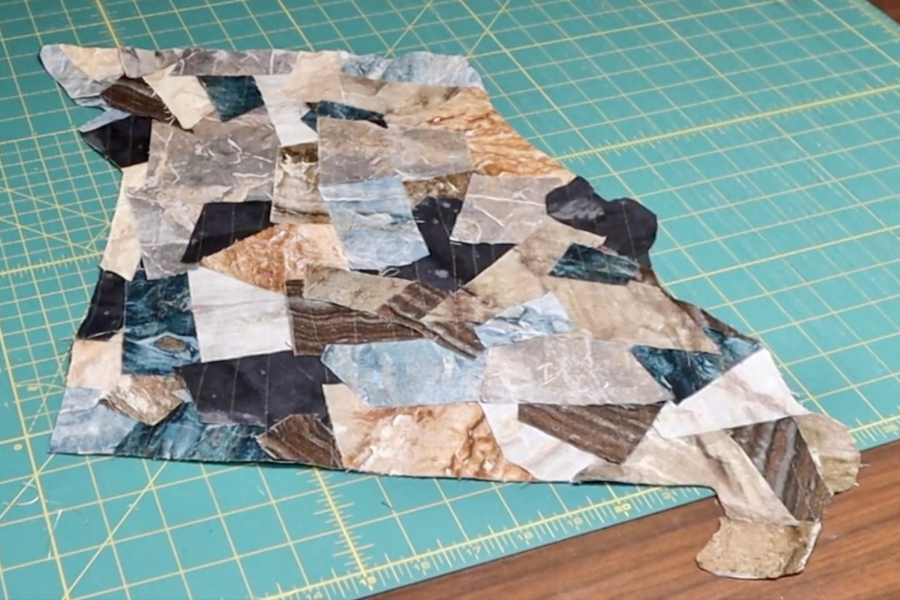
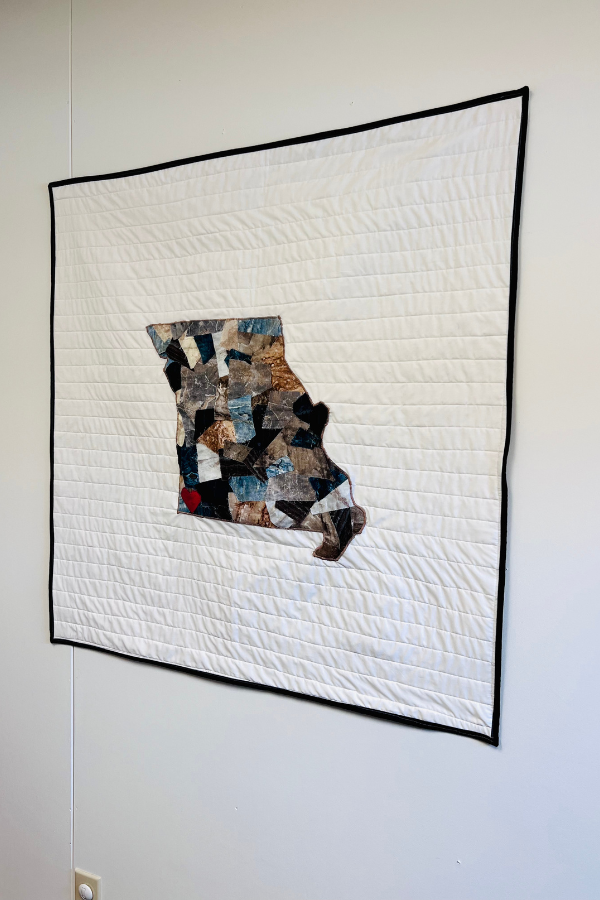
You probably noticed in the last picture that I’m not using the same fabric. I wanted something professional for my office so I decided to switch to a fabric design called Stonehenge Surfaces to make the state pop on the background fabric.
Step 3: Sew the state outline to background fabric using a satin stitch.
I set my machine to zig zag stitch, the stitch width to 5.0 and the length to 0.1 to make a satin stitch.
Step 4: Add the Batting and Backing and Quilt the wall hanging
I just used straight lines to quilt the wall hanging but you can use any kind of quilting design that you choose!
Give your quilted wall hanging a good press with the iron to make it smooth and flat. Now, it’s ready to be proudly displayed in your home or office!
Creating a state outline quilt wall hanging is not only a fun quilting project but also a way to showcase your love for your home state or any state that holds special meaning for you. With a collage of colorful fabric scraps, you’ll craft a unique piece of art that will brighten any room. So, gather your materials, let your creativity run wild, and enjoy the process of making your personalized quilted masterpiece. Happy quilting, my fellow crafting friends! 🧵✨
If you loved this project, you’ll love these projects too:


Did you make this craft?
We would love to see what you have created so mention us @cuttingedgequilter or tag us using #ceqcreations so we can see your creations!
One Comment