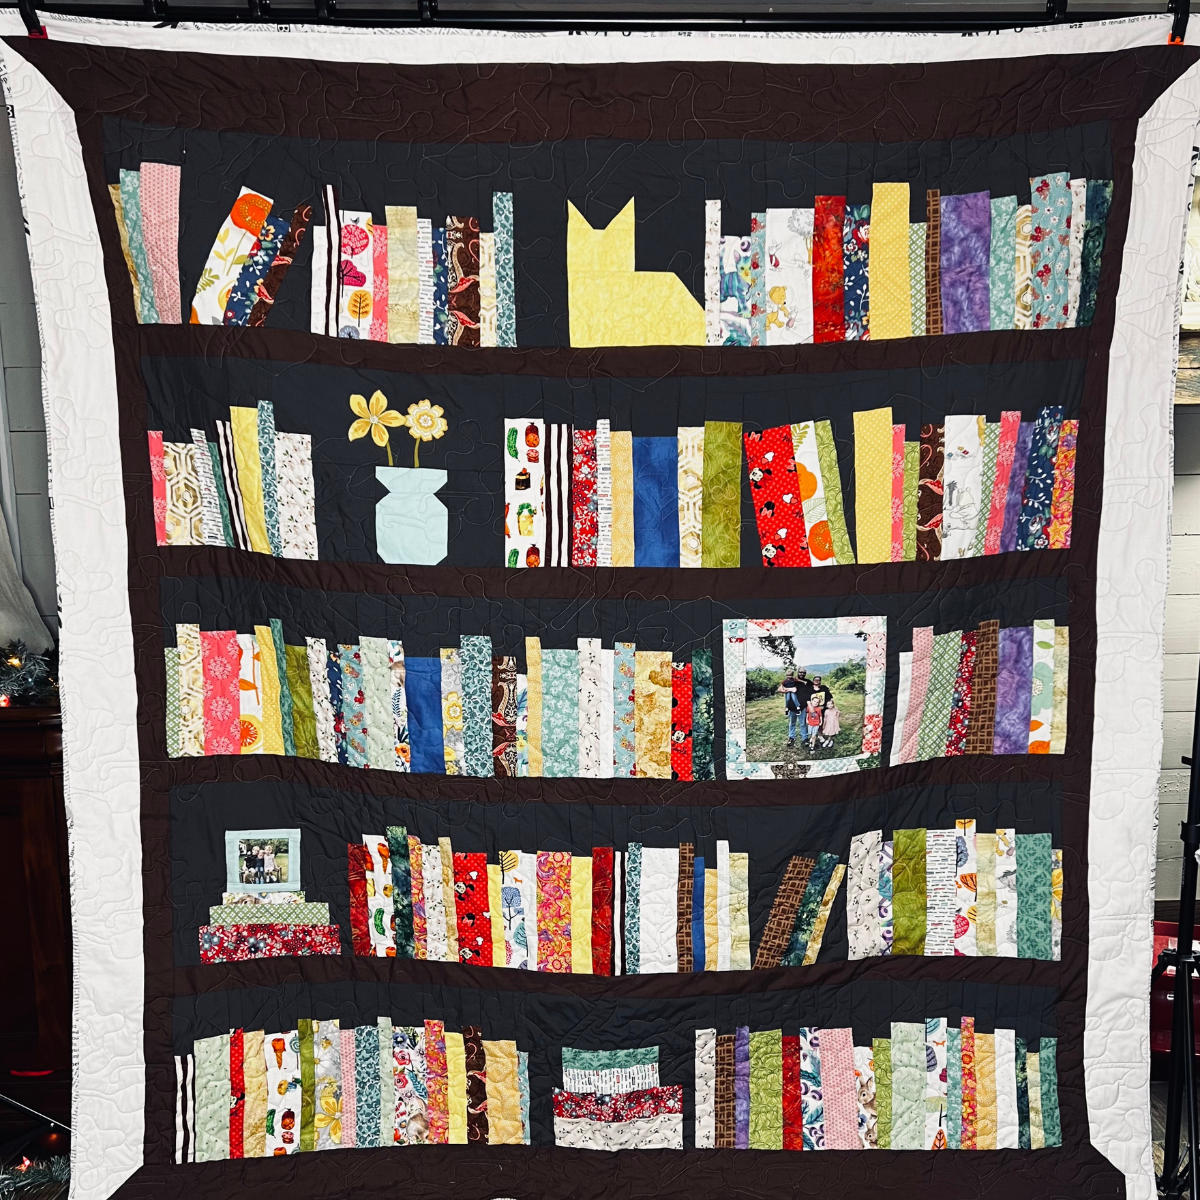
Crafting a King-Sized Quilt
Welcome to our step-by-step tutorial on crafting a beautiful king-sized quilt! Quilting is an art form that allows you to create something both functional and visually stunning. Whether you’re a seasoned quilter or a complete beginner, we’ll guide you through the process of making your very own masterpiece that will bring warmth and charm to your bedroom. So, let’s grab our fabrics, thread our needles, and get started on this exciting quilting adventure! A king-sized quilt can be pretty intimidating but a lot of fun at the same time.
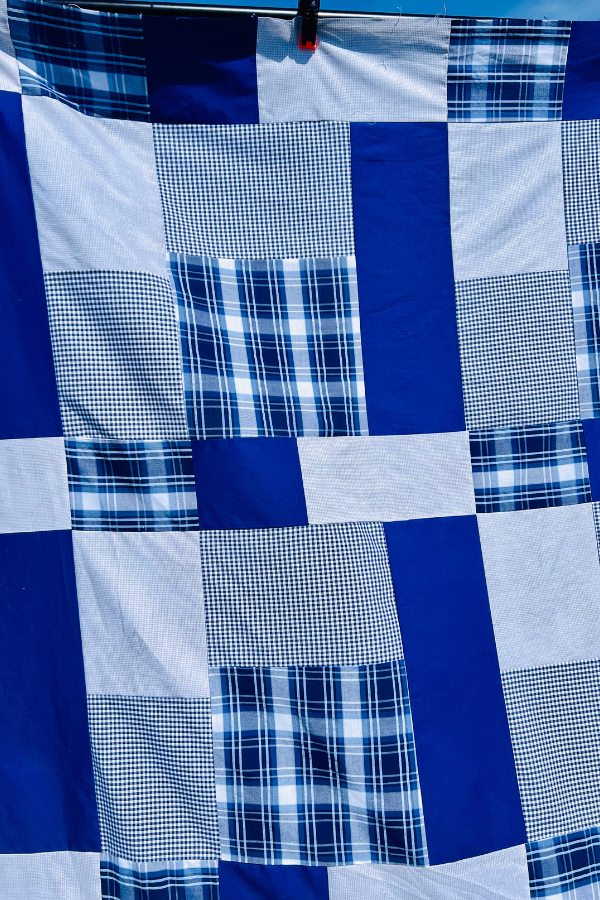
Let’s get started with the simple block construction but with stunning results!
See the full step by step video tutorial
Here’s a breakdown of what you will learn. Click on the quick links to take you to the step that you are on.
How to make the Rectangular Bliss King-Sized Quilt Step by Step
Ready to make a king-sized quilt? This post contains some affiliate links for your convenience! Read my full disclosure policy.
Materials you’ll need
Step by Step Instructions
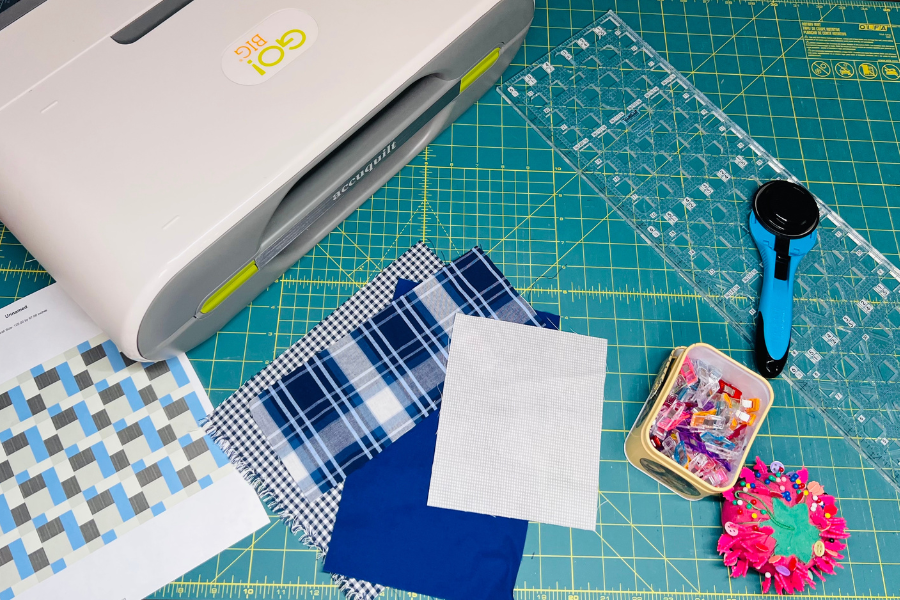
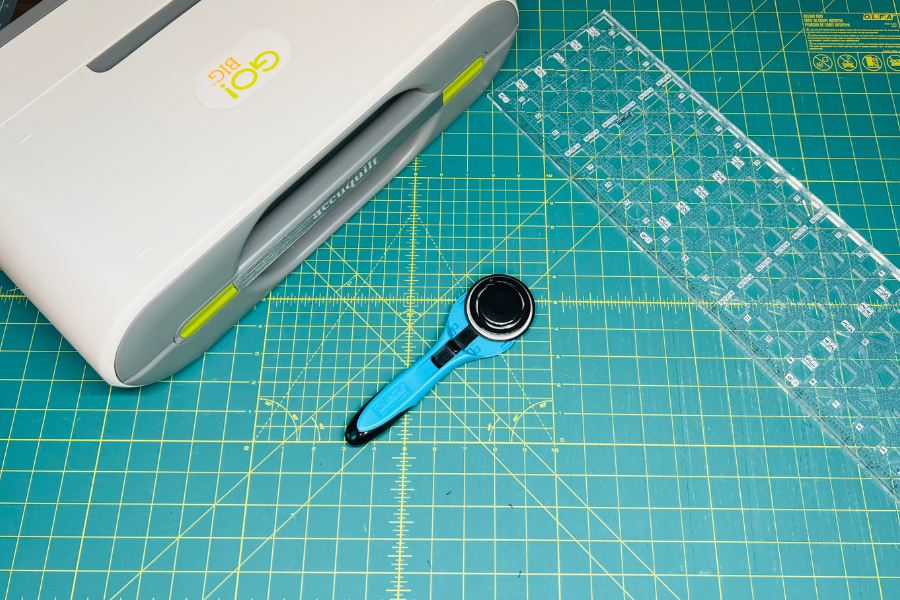
Step 1: Gathering Supplies
First things first, let’s gather all the necessary supplies for crafting a king-sized quilt. You’ll need a variety of fabrics in different colors and patterns to suit your design. Don’t forget to include a rotary cutter, cutting mat, quilting ruler, and high-quality quilting thread. You’ll also need batting and backing fabric to complete your quilt sandwich. With all your supplies ready, you’re all set to begin!
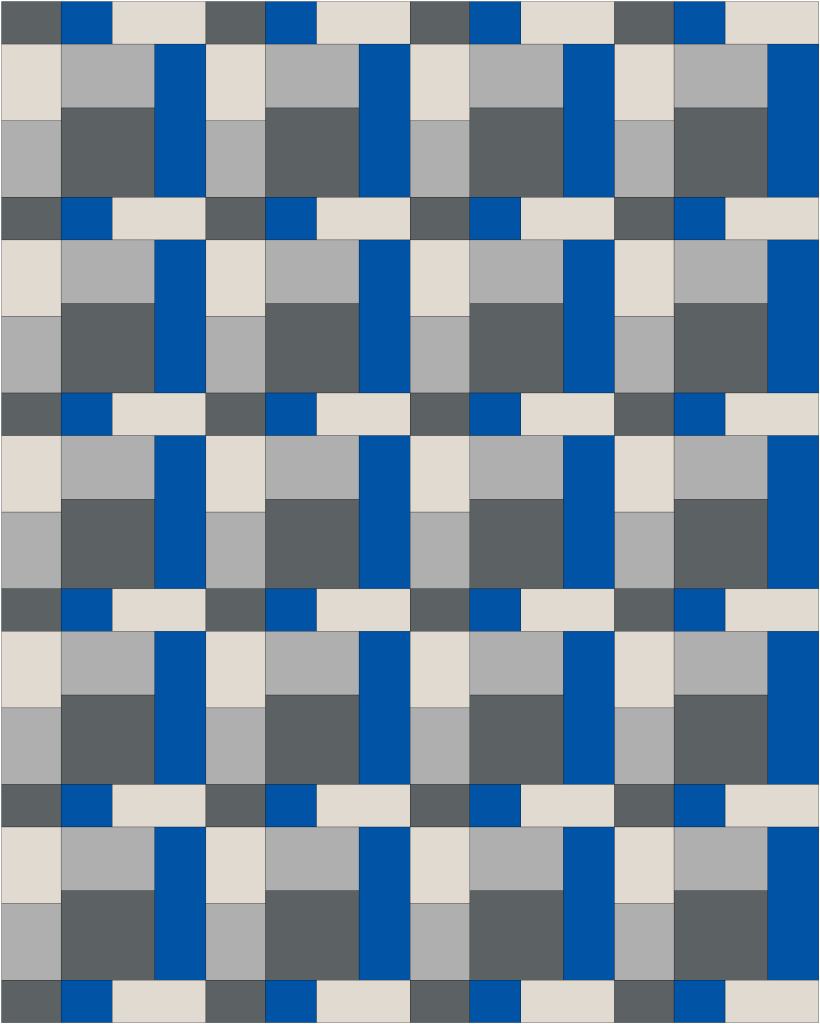
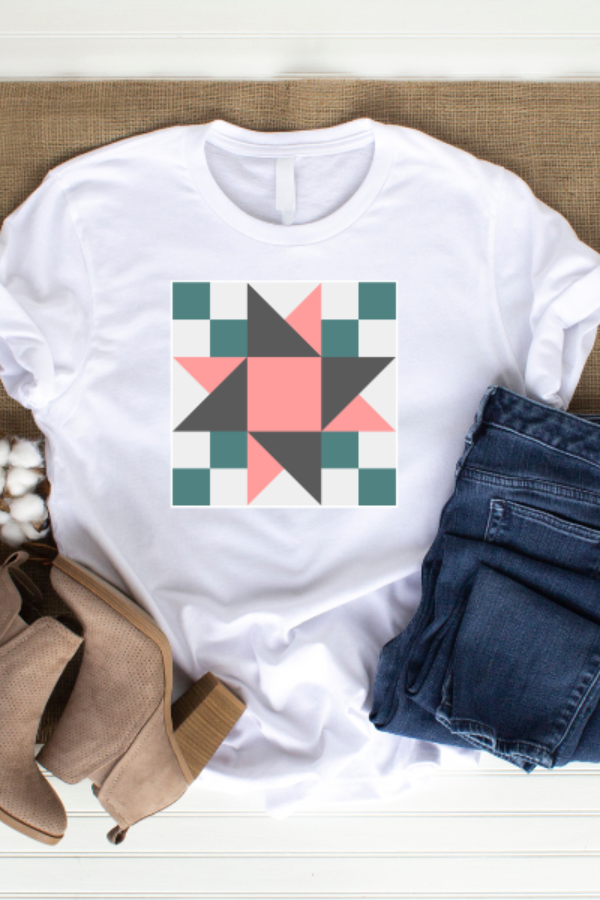
Step 2: Designing Your Quilt
Before cutting into your precious fabrics, it’s essential to have a plan. Explore various quilt block patterns and layout options. You can create a simple patchwork design, an intricate star pattern, or any design that speaks to your creativity. If you would like to purchase the pattern that I’m using, you can do that here.
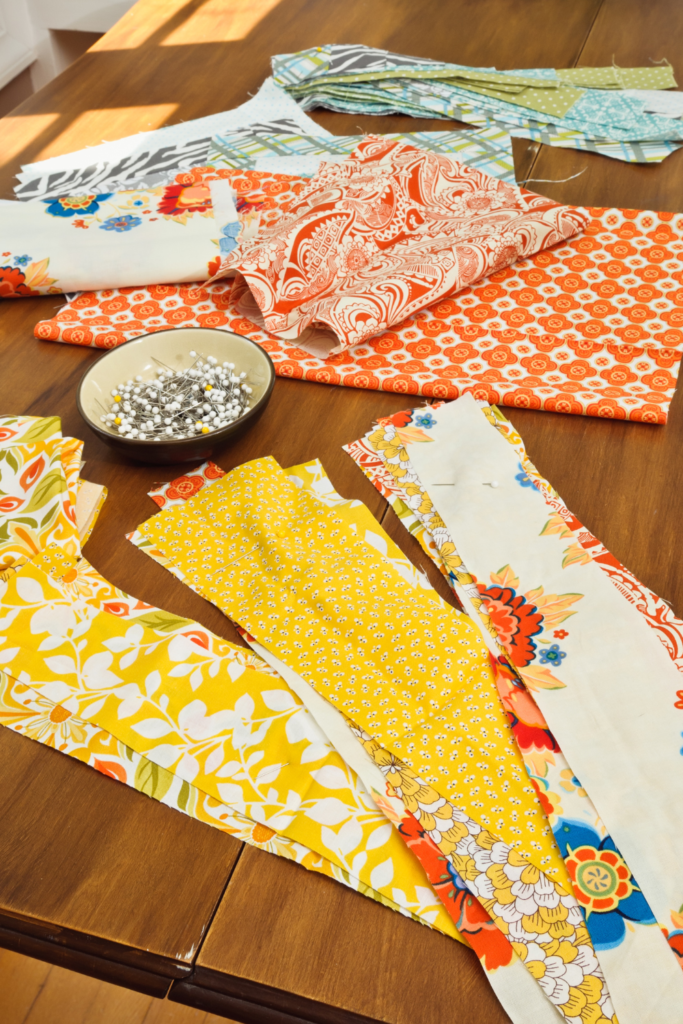
Step 3: Precise Cutting
Now that you have your design finalized, it’s time to start cutting your fabrics. Accurate cutting is crucial for achieving precise quilt blocks. Use your quilting ruler and rotary cutter to cut fabric strips and squares according to your design’s measurements. Take your time to ensure the cuts are straight and even. For a perfect cut, you can also use an Accuquilt to cut your fabric.
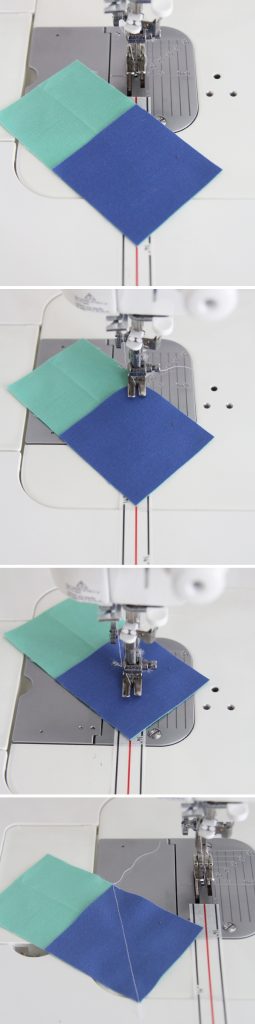
Step 4: Sewing the Blocks together
It’s time to sew the blocks together! If you are a beginner, I would suggest using lots of pins or clips. They will make sure to hold the pieces together perfectly while you are sewing and ensure that they don’t slip. As you are more comfortable with sewing, you probably don’t need as many pins but it’s best to pin or clip the big pieces for an accurate seam. All the seams will need to be stitched with a 1/4 inch seam. I use an awesome tool to tell where my 1/4 inch would be called Diagonal Seam Tape created by cluckclucksew.com. I purchased my tape from Fat Quarter Shop and I really don’t know what I would do without it!
Step 5: Adding Borders and Sashing
To frame your quilt blocks and add visual interest, consider adding borders and sashing. Borders can be wide or narrow, depending on your design preference, while sashing provides space between the blocks. Play with contrasting colors to make your quilt pop! I chose not to add any borders or sashing to the quilt top that I am making today because it’s big enough but it is a fun way to make your project bigger or more interesting!
Congratulations on making it this far in creating your king-sized masterpiece! Stay tuned for the next post in the series where we are loading the king-sized quilt onto the frame.
If you loved this project, you’ll love these projects too:

Did you make this craft?
We would love to see what you have created so mention us @cuttingedgequilter or tag us using #ceqcreations so we can see your creations!

2 Comments