Quilting Tips: How to Add Length to Your Quilt with Beautiful Borders
Use this fun project to add length to your quilt to surprise someone special!
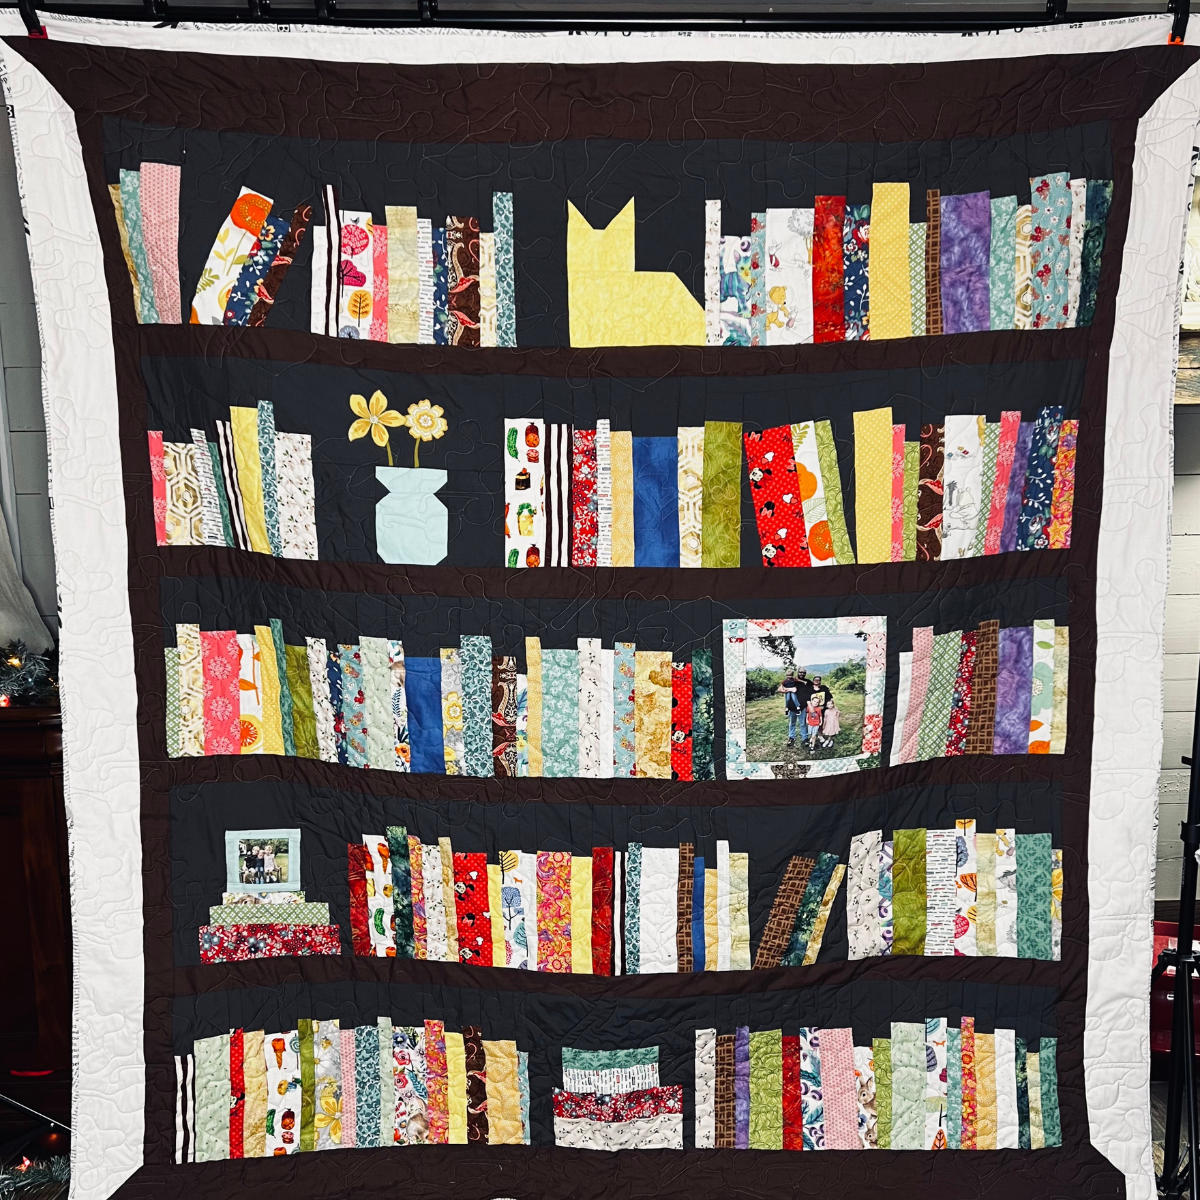
Learn how to add length to your quilts
I’m excited to share a fantastic quilting technique with you: adding length to your quilts with beautiful borders. Whether you’re a beginner or an experienced quilter, this creative and practical method will come in handy for many of your quilting projects.
See the full step by step video tutorial
Why Add Borders to Your Quilts?
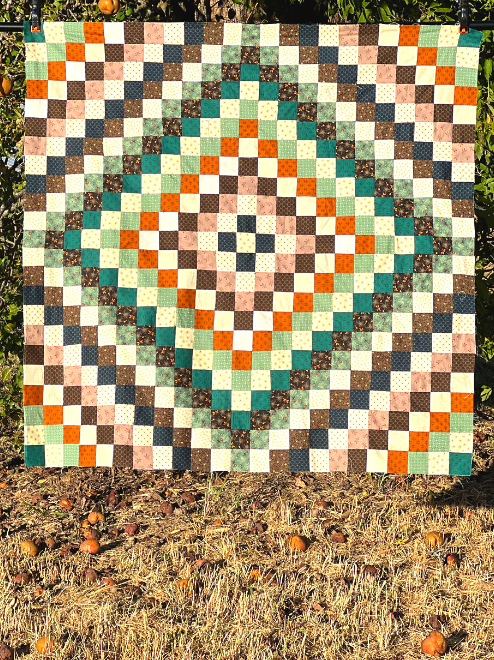
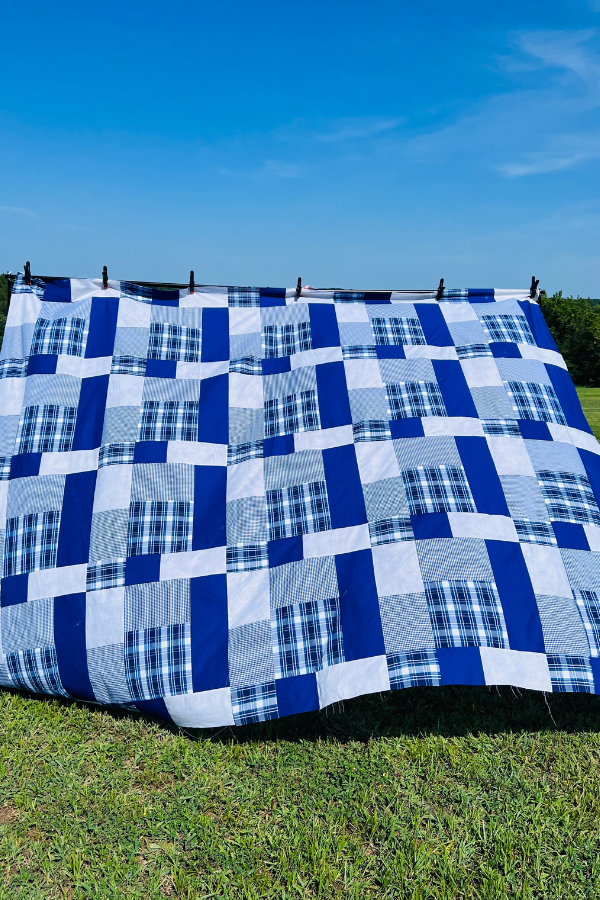
Borders are not just about aesthetics; they serve a functional purpose too. They can add length and width to your quilt, making it the perfect size for your bed or any other purpose you have in mind. Borders can also frame your quilt, giving it a polished and finished look. So, let’s dive into the step-by-step process of adding borders to your quilts.
How to add length to a quilt with borders Step by Step
Ready to add length to a quilt with borders? This post contains some affiliate links for your convenience! Read my full disclosure policy.
Materials you’ll need
Step by Step Instructions
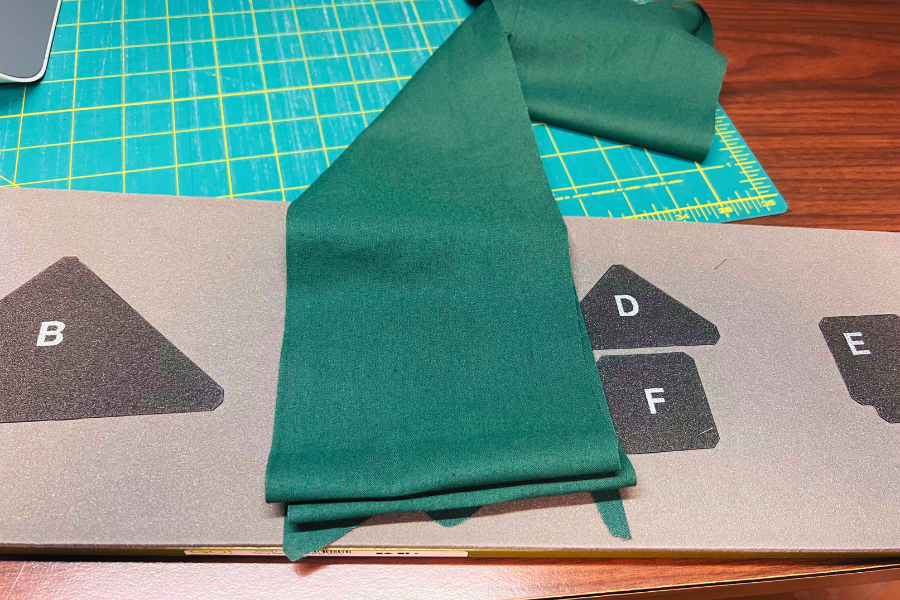
Step 1: Measure and Cut Your Borders
- Measure Your Quilt: Lay your quilt top flat and measure the sides that you want to add borders to. Ensure your measurements are accurate, as this will determine the final size of your quilt.
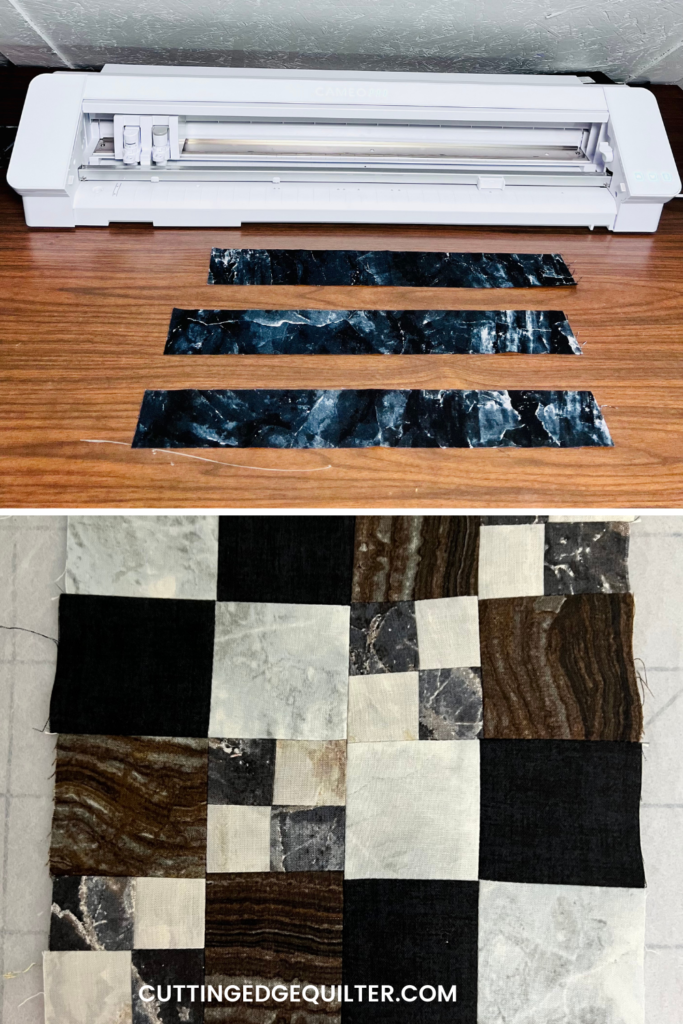
- Cut Your Border Fabric: Using your ruler and rotary cutter, cut strips of fabric for your borders. The width of your strips depends on your design preference, but a common choice is 2.5 to 4 inches. Don’t forget to add a little extra length for seam allowances. All seam allowances are 1/4 inch unless specifically noted.
Step 2: Sew the Borders
- Sew the Border Strips: Start by sewing the border strips to the sides of your quilt. Match the border strip’s length with the measured side of your quilt and pin or clip in place.
- Sew with a 1/4 inch Seam Allowance: Use a 1/4 inch seam allowance for a standard quilting seam. Sew along the length of the border, attaching it to your quilt top.
- Press Seams: After sewing, press the seams open with your iron. This will make your quilt lie flat and help prevent any puckering.
Step 3: Add Top and Bottom Borders
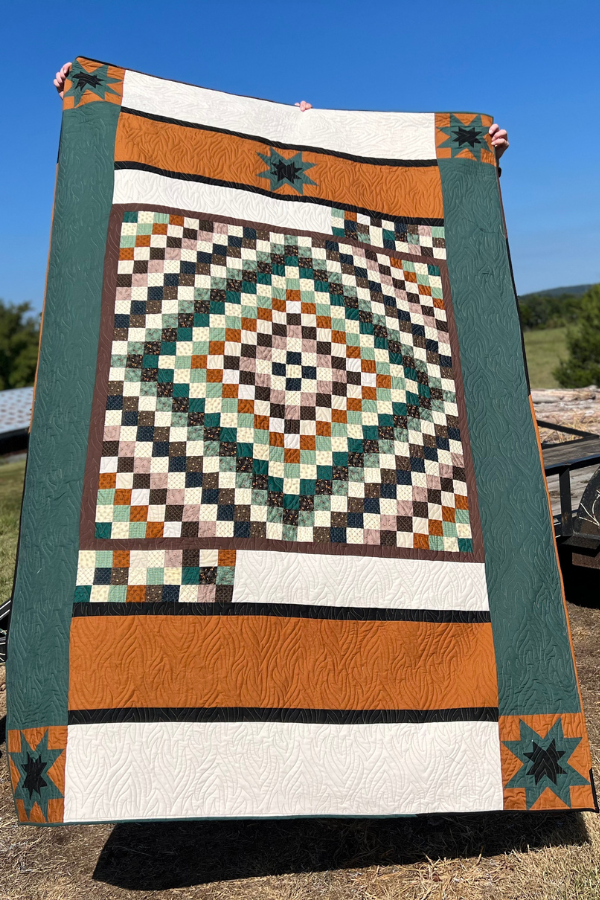
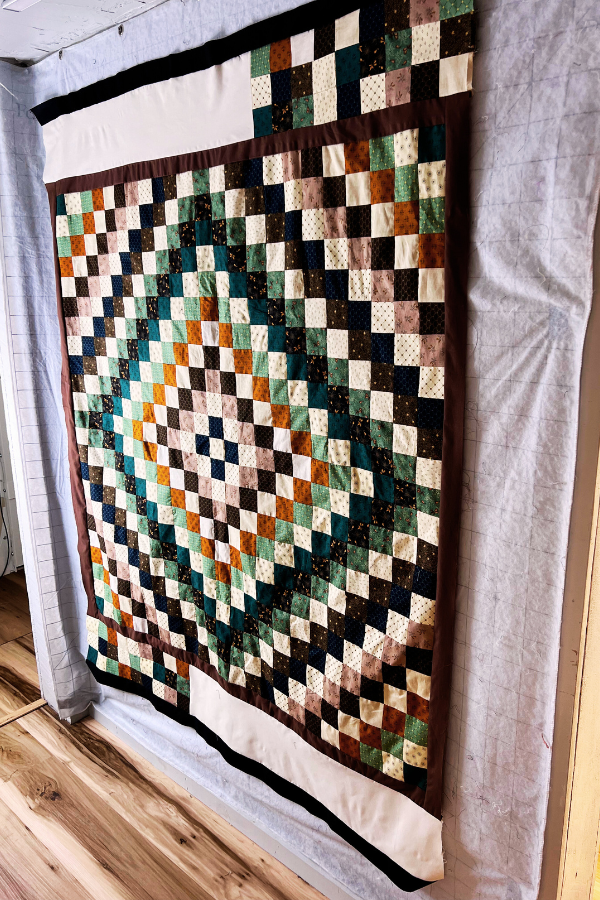
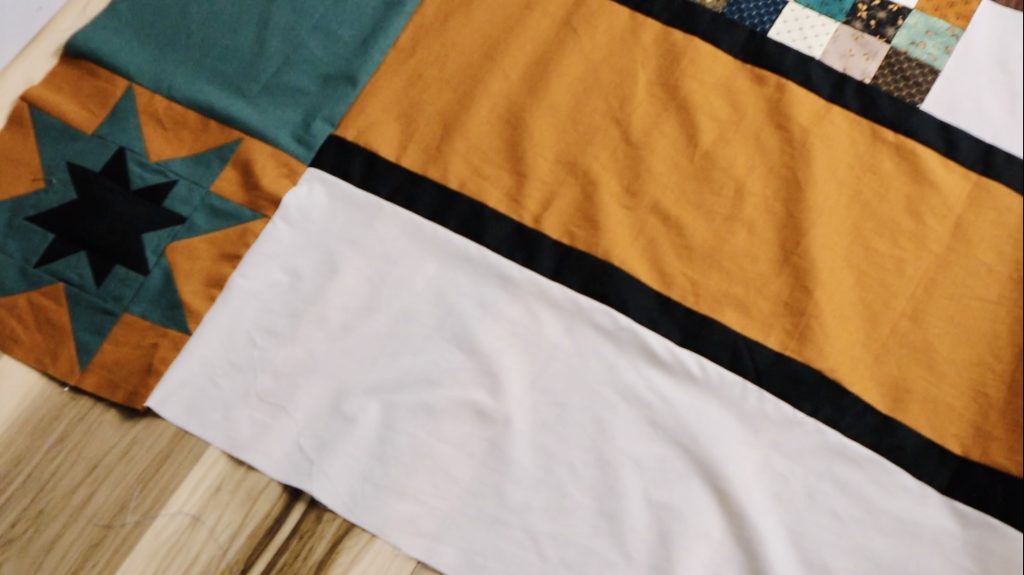
Repeat the process for the top and bottom borders, measuring and cutting your border fabric to fit these sides. You can also add fun pieced stars or stripes to the borders for a different look to your quilt like I did with the stars. I also had some extra 2 1/2 x 2 1/2 inch squares so those were added to a middle border just for fun.
Sew, press, and you’re almost done!
Step 4: Final Trimming and Pressing
After attaching all the borders, trim any excess fabric to ensure your quilt is neat and square. Press the borders one last time to set the seams and give your quilt a polished appearance.
And there you have it, my fellow quilters! You’ve successfully added length to your quilt with beautiful borders. Remember to take your time, enjoy the process, and infuse your unique style into every stitch.
Don’t forget to share your quilting adventures and your thoughts on this tutorial in the comments below. I’d love to hear from you! Until next time, happy quilting! 🧵✨
P.S. If you enjoyed this tutorial, be sure to check out more quilting tips and tricks on my YouTube channel, Cutting Edge Quilter.
If you loved this project, you’ll love these projects too:

Did you make this craft?
We would love to see what you have created so mention us @cuttingedgequilter or tag us using #ceqcreations so we can see your creations!
One Comment