How to Add a Quilt Block to a Shirt: A Creative & Cozy DIY Project
Sewing a quilt block to a shirt is an excellent way to infuse your wardrobe with a touch of personalization and creativity. Whether you’re an experienced quilter or a novice looking for a fun project, adding a quilt block to a shirt can elevate your style while showcasing your sewing skills.
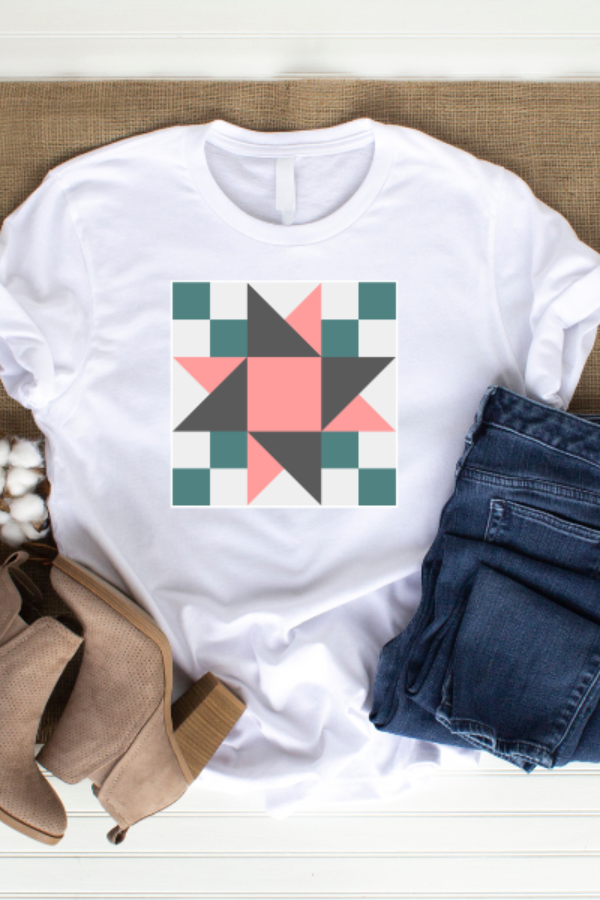
Learn how to sew a quilt block to a shirt
In this step-by-step guide, we’ll walk you through the process of creating a quilt block and sewing it onto a shirt, transforming an ordinary garment into a unique and cozy fashion statement.
If you have walked into a department store recently, you’ve noticed some really cute crocheted outfits and even some with quilt blocks weaved into the material. They are so pretty but they are also so expensive! Today, I want to show you how you can make your own using just scraps.
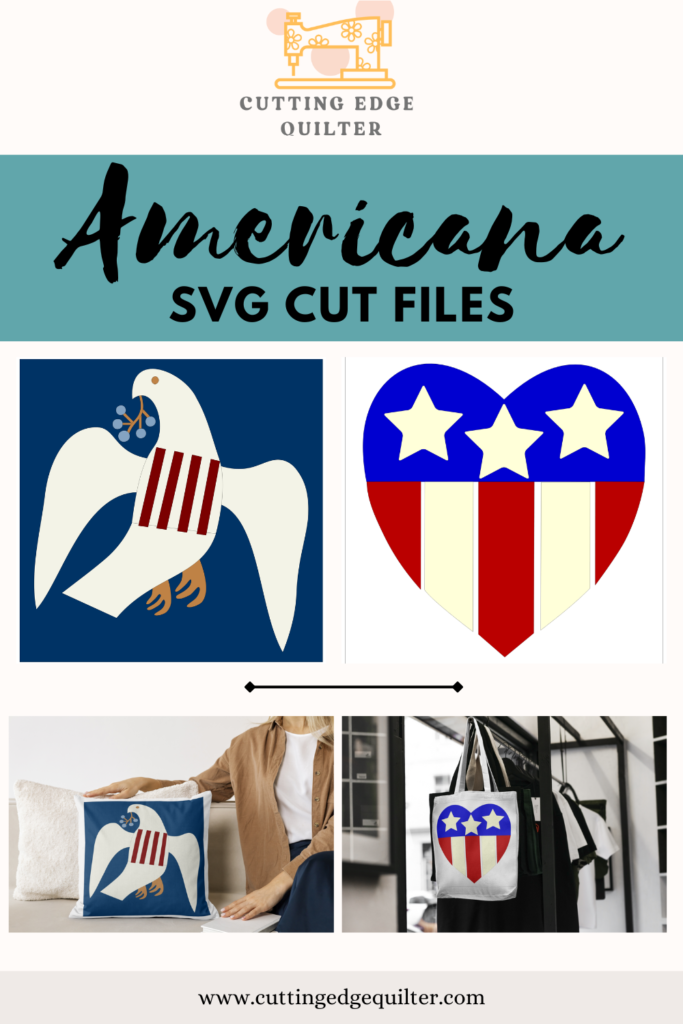
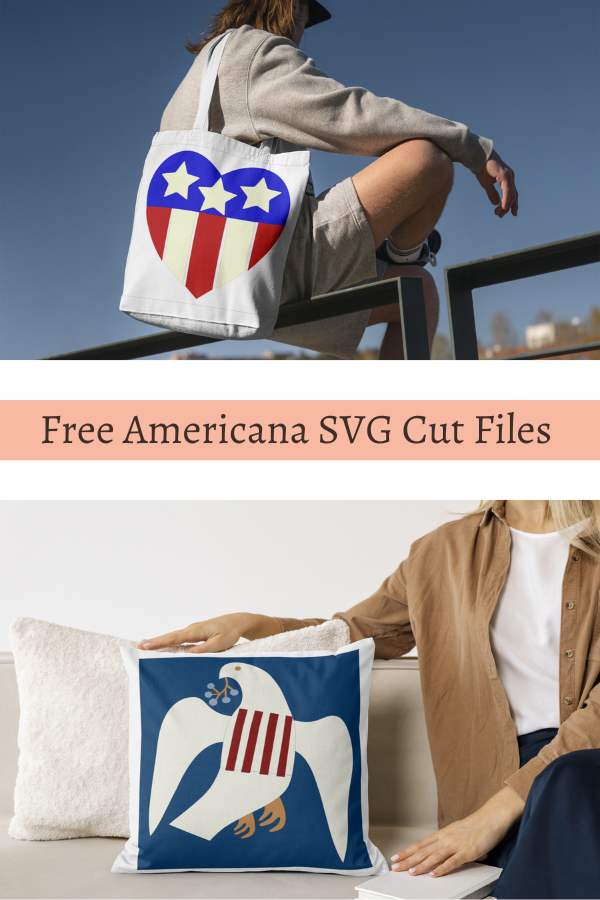
Before we begin, if you want to purchase the block that I am using it is for sale on my shop page. Click on the link below and it will take you directly to the item. I have it formatted as a pdf, png, svg and studio3 files. You can cut fabric to make the quilt block or cut vinyl. Either way, it will look great on whatever you decide to put it on!
How to add a quilt block to a shirt Step by Step
Ready to make [name of project]? This post contains some affiliate links for your convenience! Read my full disclosure policy.
Materials you’ll need
Step by Step Instructions
Step 1: Designing Your Quilt Block
Start by designing your quilt block on paper. The size of the block depends on your shirt’s dimensions and your personal preference. Popular quilt block designs include simple squares, stars, hearts, or even intricate patterns like the log cabin or flying geese. Once you’ve decided on a design, determine the dimensions and create a pattern using your quilting ruler and fabric marker. If you want to use the quilt block that I used, you can purchase it in my shop here.

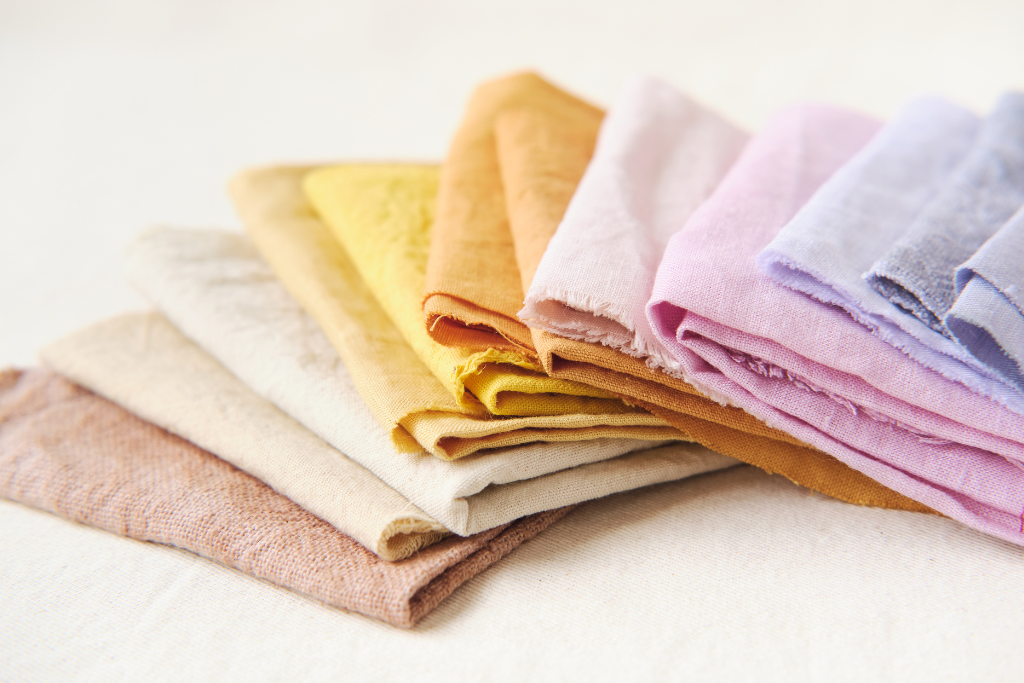
Step 2: Choosing Fabrics
Select fabric colors and patterns that complement your shirt. Consider using a mix of solid colors and prints to add visual interest to the block. Cotton fabric works best for quilt blocks as it is easy to work with and comfortable to wear.
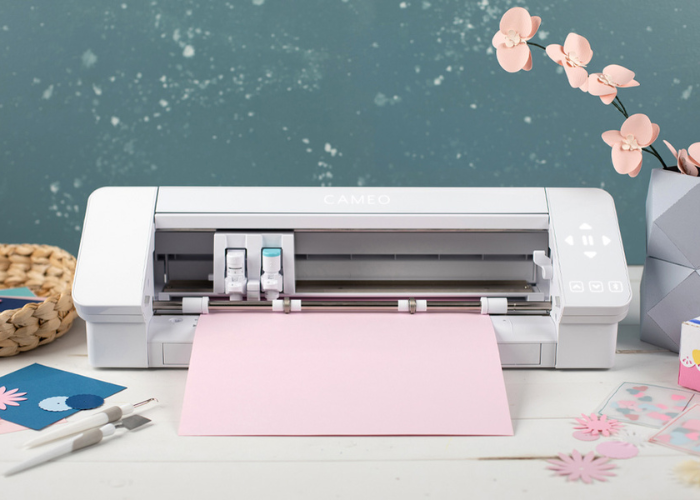
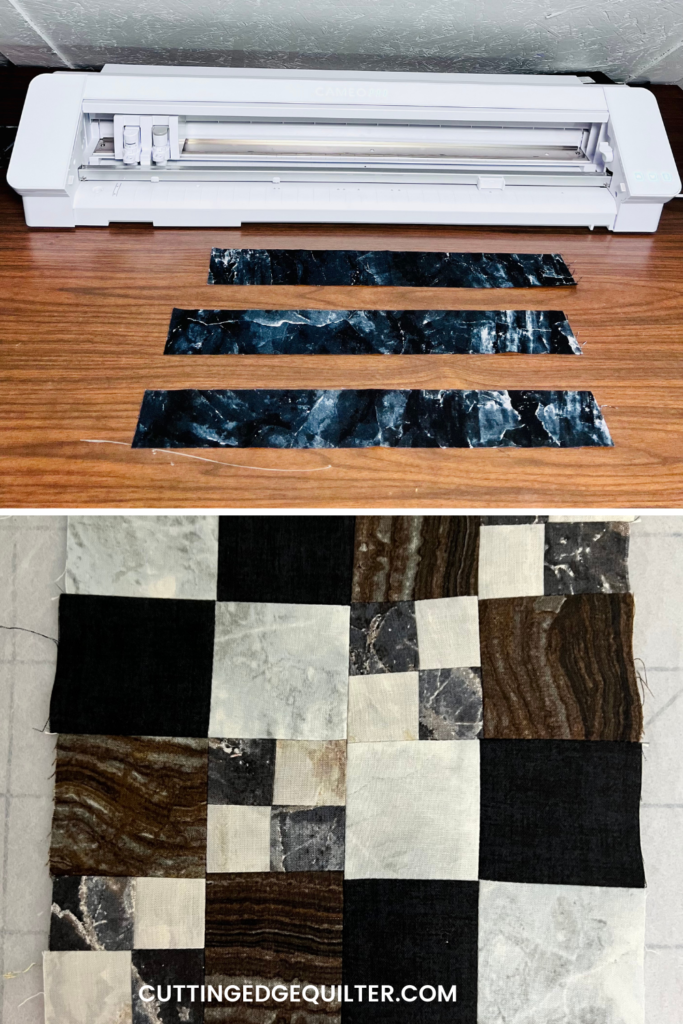
Step 3: Cutting the Fabric
Using your pattern, cut out the fabric pieces for your quilt block using a rotary cutter or fabric scissors. With the purchase of the quilt block through my shop, you will receive an SVG and studio3 file to be able to upload to the Silhouette Design Store so the cameo will cut the fabric for you! It makes cutting so easy and precise.
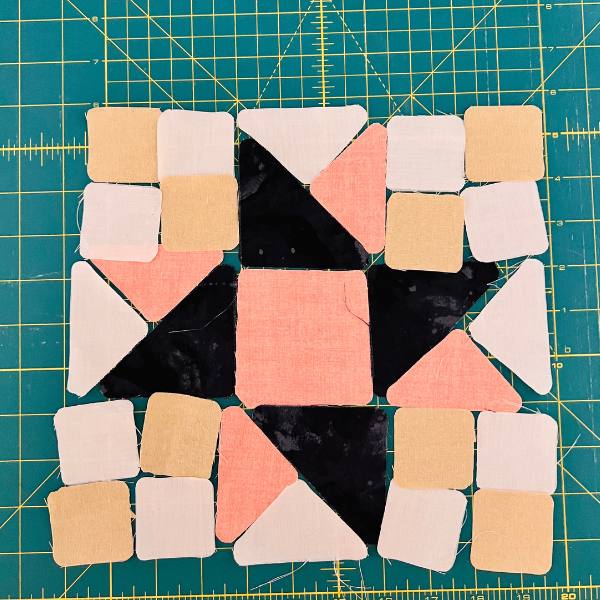
Step 4: Assembling the Quilt Block
Lay out the fabric pieces according to your design and begin sewing them together. Use a 1/4-inch seam allowance and press the seams open with an iron to reduce bulk. Continue sewing the pieces together until your quilt block is complete.
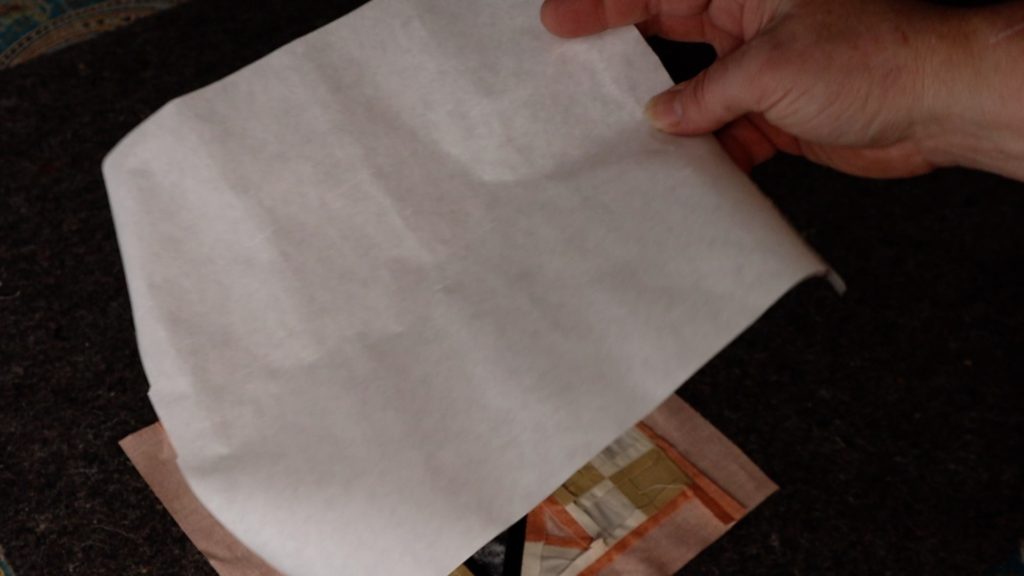
Step 5: Adding Interfacing (Optional)
If your quilt block is large or if you’re using lightweight fabrics, consider adding interfacing to the back of the block for added stability. This step is especially useful if you plan to wash the shirt frequently.

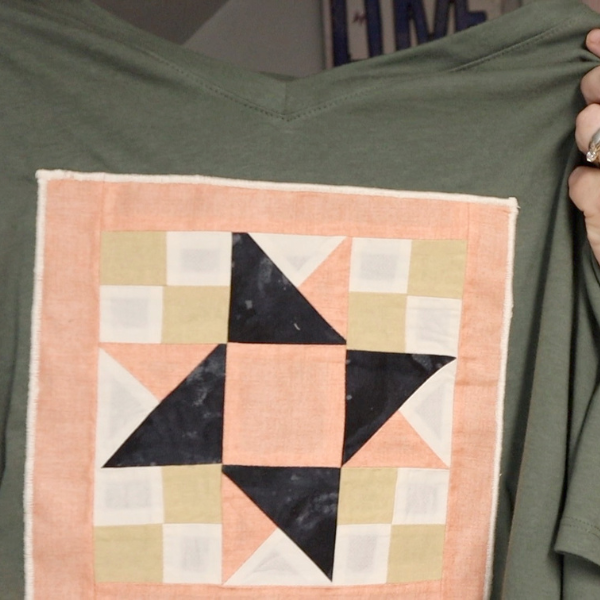
Step 6: Preparing the Shirt
Place the shirt on a flat surface and determine the best position for your block. You can place it on the front of the shirt, the back, or even on the sleeves. Use pins to temporarily secure the quilt block in place or use heat n bond to iron the quilt block onto your shirt to secure it before sewing around it.
Step 7: Sewing the Quilt Block to the Shirt
Carefully sew the quilt block to the shirt using a sewing machine. You can use a straight stitch, a zigzag stitch, or even decorative stitches, depending on your preference. Take your time to ensure smooth and even stitching.
Step 8: Finishing Touches
After sewing the block, trim any excess threads and press the shirt with an iron to give it a polished look. If you added interfacing, take care not to press directly on it.

Adding a quilt block to a shirt is an awesome way to showcase your quilting skills while creating a one-of-a-kind garment that reflects your personal style. With a little creativity and sewing know-how, you can transform a plain shirt into a cozy, fashionable statement piece that you’ll be proud to wear. So, gather your materials, let your imagination run wild, and get ready to embark on a sewing adventure that combines the best of quilting and fashion! Happy sewing!
If you loved this project, you’ll love these projects too:
Did you make this craft?
We would love to see what you have created so mention us @cuttingedgequilter or tag us using #ceqcreations so we can see your creations!

2 Comments